How Do I Add Students to My Classroom?
There are two ways for teachers to add students to a classroom: individually or by uploading a roster.
If you do not see an option to add students, this indicates that all student rostering is managed at the admin level for your district. Contact an administrator in your system for assistance. For help on where to find your account admin(s), please see Where Can I Find the Admins on My Account?
If you are an admin, please see Adding Students - Admin for instructions on school- or district-wide rostering.
To add a student individually:
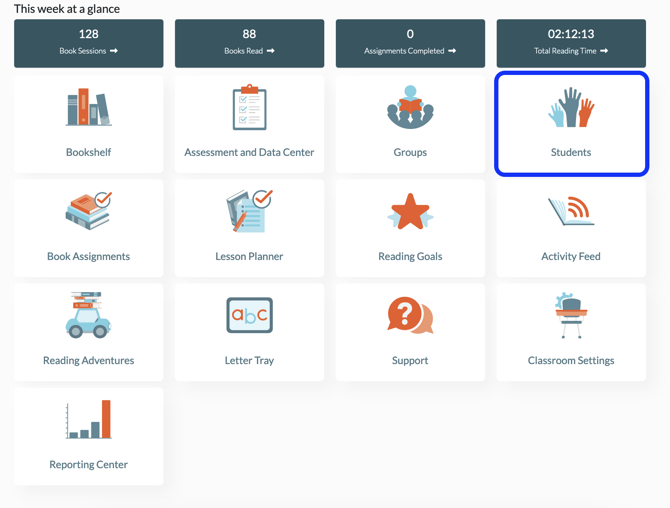
1. From your dashboard, click Students.

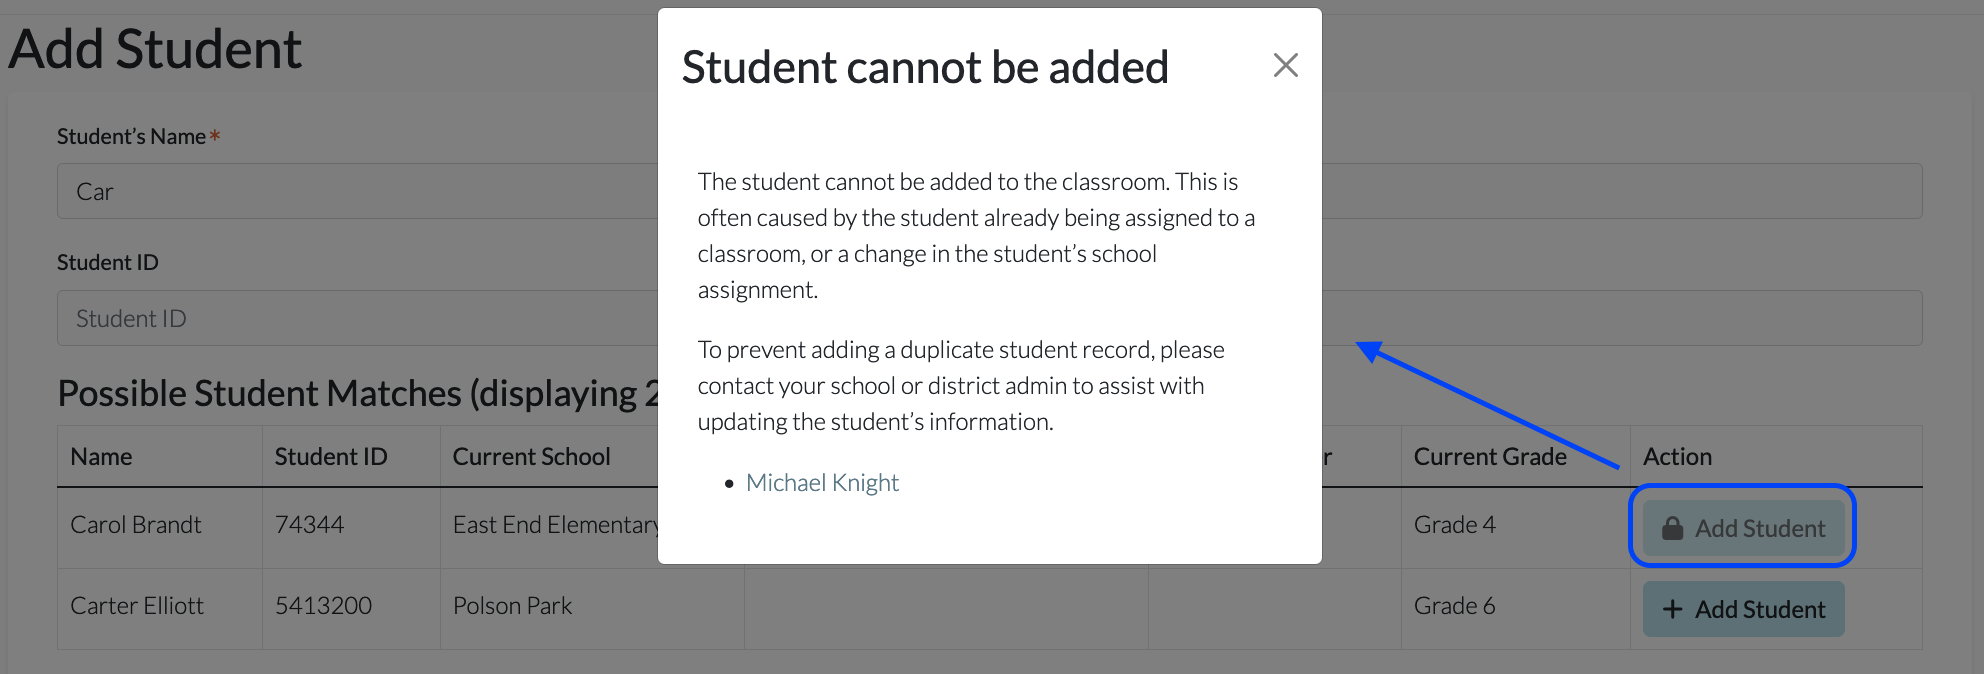
3. Begin filling in the information for the new student. Preexisting student matches will populate under the Possible Student Matches section based on the fields Student's Name, Student ID, and Username or Single Sign-On Email. Click on the +Add Student icon under the Action column to update and add that student to your classroom.
- Consult with your school/district administrator to confirm if your system should be using a specific username/password protocol. For help on where to find your account admin(s), please see Where Can I Find the Admins on My Account?

If a Lock icon is in the Action column, that indicates that the student cannot be added to the classroom. Possible reasons for this are that the student has already been assigned to a classroom or there has been a change in the student's school. To prevent adding duplicates, please reach out to your school or district admin for assistance. If you click on the Lock icon, a pop up will appear with your admins' email addresses for easy contact.
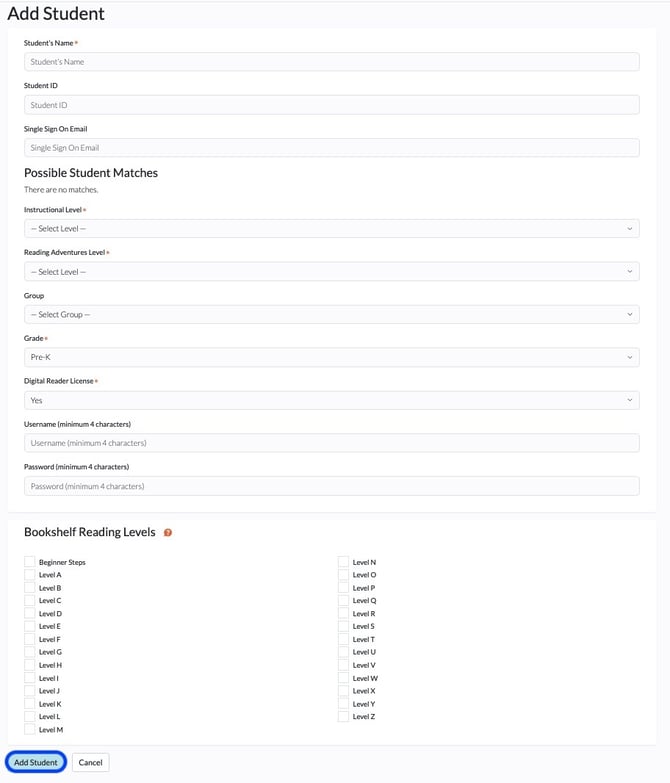
4. If no preexisting students populate, fill in the information for the student and click Add Student at the bottom of your screen. Your student is now a part of your roster.

For more information on Possible Student Matches, please click here.
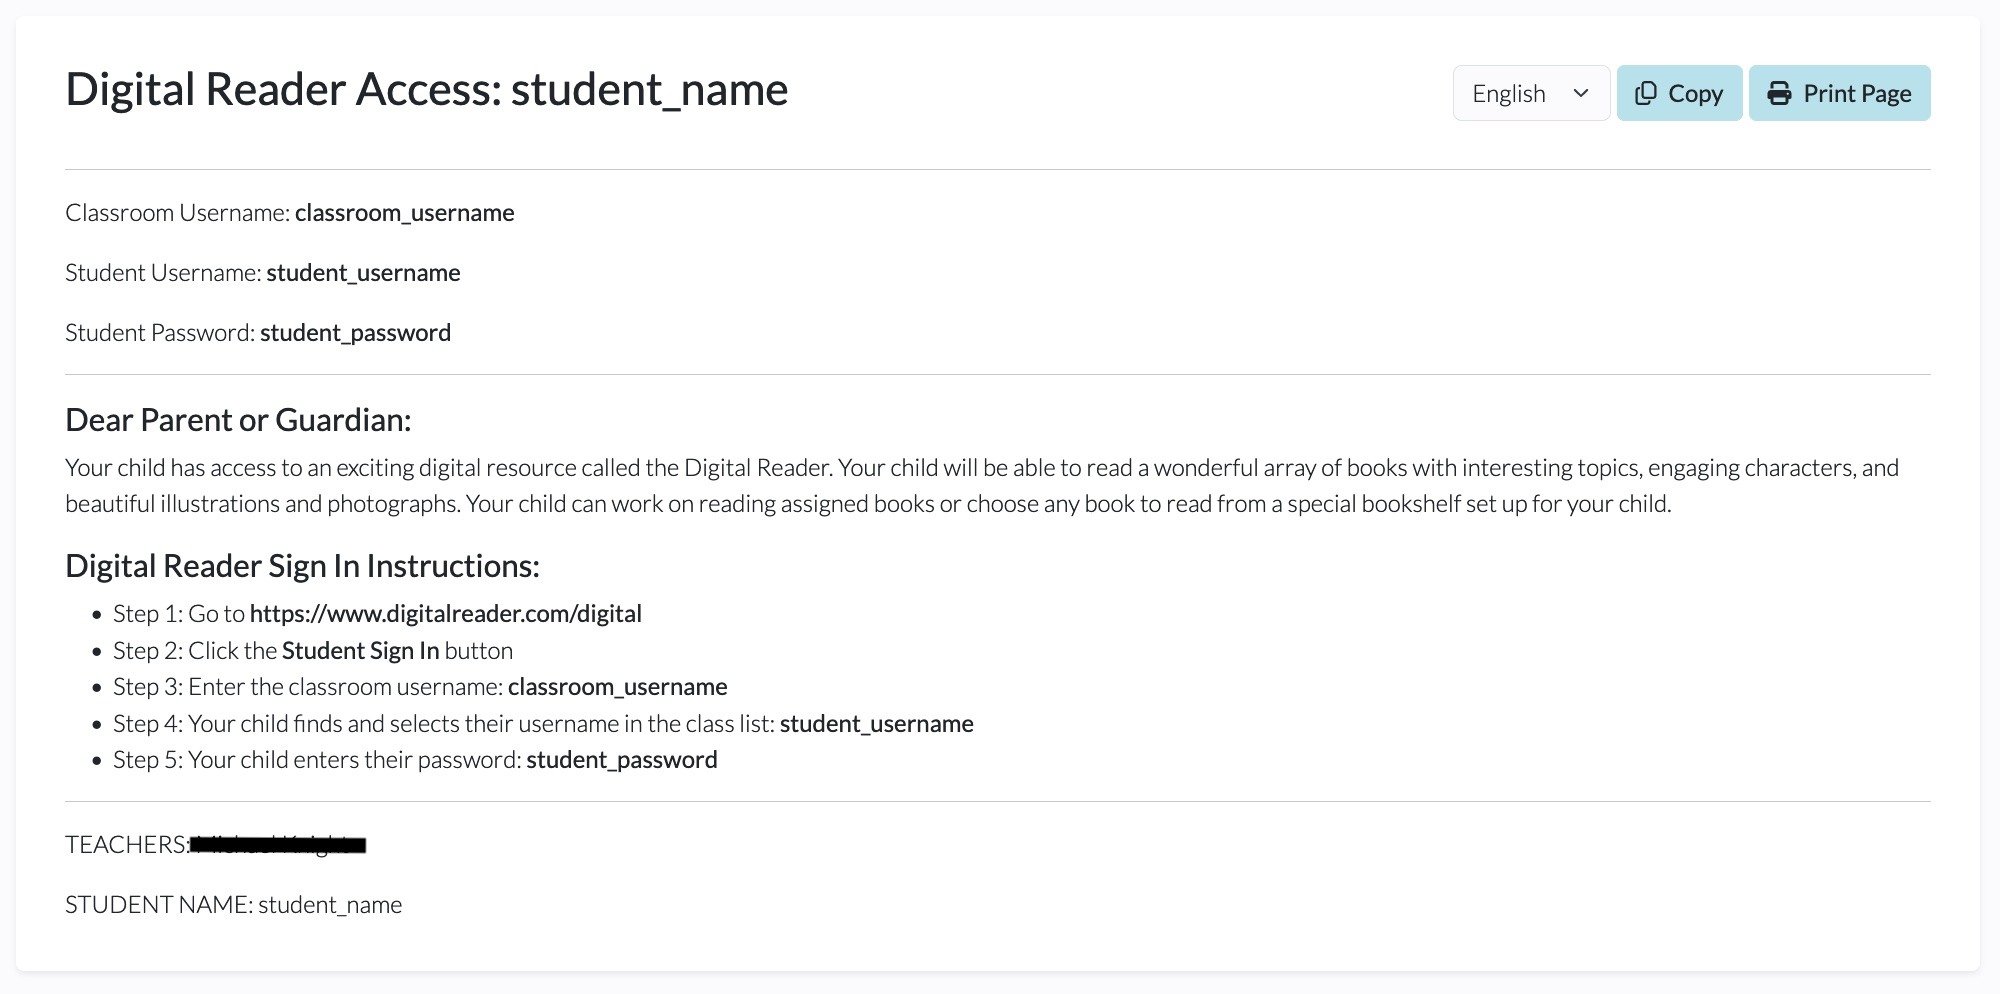
For more information on student login instructions, please click here.
To upload a class roster:
1. From your dashboard, click Students.

2. Click the Import Students button at the top of your screen.
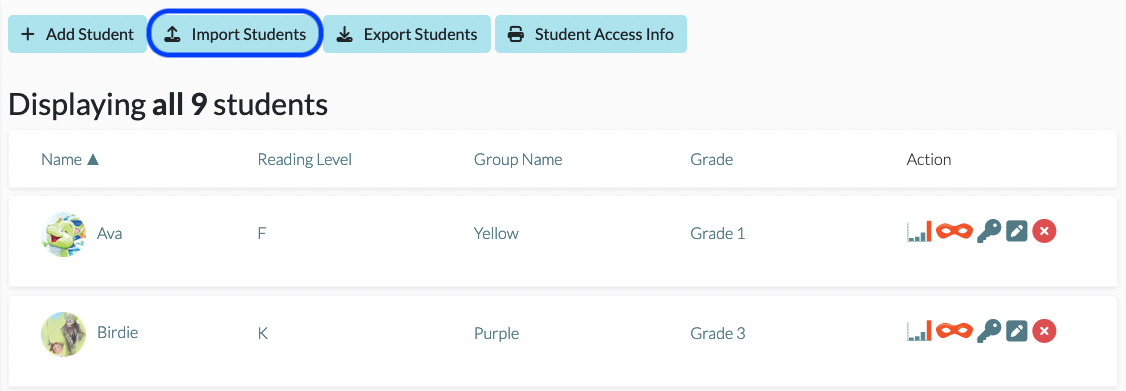
3. Click New Student Import.

4. Download the Import Template.
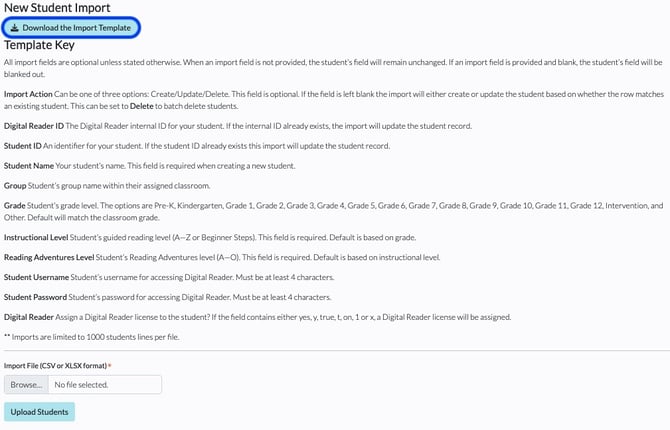
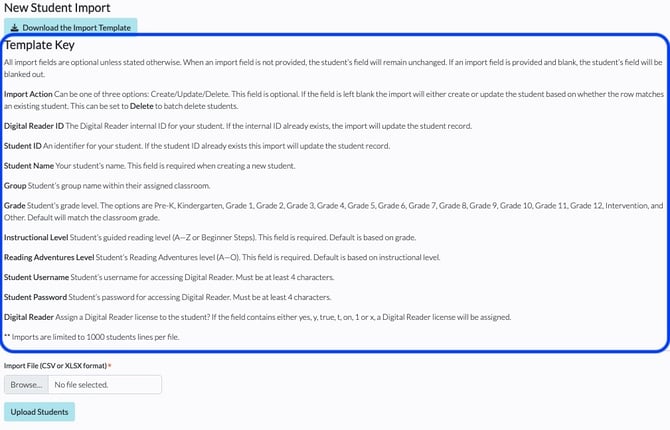
5. Following the instructions posted in the Template Key, complete the fields on the template. Do not change any of the headers, and be careful to include all required information. Please ensure you are using group names that match what you have included in the Digital Reader platform. For example, if a group is Smith-1 in the Digital Reader, but you enter it as 1-Smith on the roster template, you will get an error message.
6. Save the template to your desktop with an identifier you can recognize.

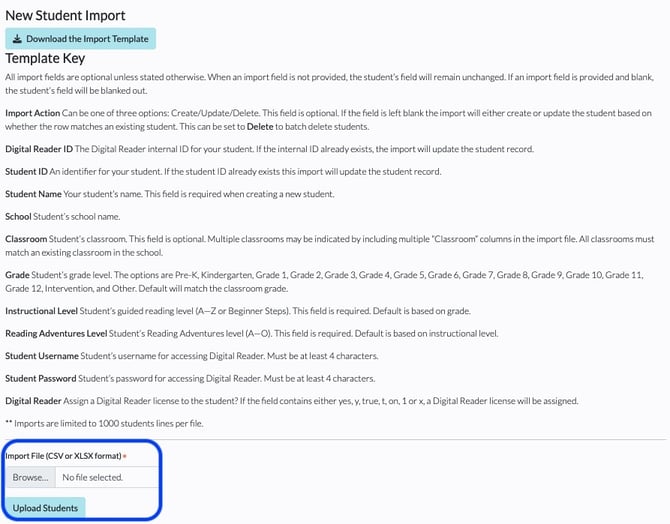
7. Once you’re ready, click Browse (under Import File) to choose a file and find the template you have saved and click Upload Students.
8. Review the roster on your screen, and if it looks correct, click Import. If you need to edit a particular student, click on the Pencil icon to the far right of their name.

9. Your students are now part of your roster. If you added a Username or Single Sign On Email to each student’s profile and set the Digital Reader License to Yes, click the Key icon to the left of the student’s name to provide each student with their login instruction.


For more information on student login instructions, please click here.
