Navigating the Lesson Planner Tab
The Digital Reader allows you to schedule lessons, which is intended to help teachers place books “on deck” for future lessons. It allows you as a teacher to set aside the books you plan to use for lessons, assign a date in the future, and review the books you have planned for instructional use.
This feature provides teachers with greater flexibility and control over the release of the titles being used for guided reading sessions. Teachers are given an option to "Start Reading Lesson" and are then able to decide whether to release the book immediately to their students as an assignment, to release the book into the student Book Bag(s), or to simply start the lesson without releasing the book at all. All of these decisions can be made on a student-by-student basis. For example, if a student is out on the day of your lesson, you can uncheck them from the Group list when you begin, and this will prevent them from having access to that book until you can pick back up with them at a later date.
This article will cover the following topics:
- Scheduling Lessons
- Changing a Lesson's Scheduled Date
- Starting and Completing a Lesson
- Canceling a Lesson
For a video walk-through, please see Navigating the Lesson Planner Tab (Video 5:48).
Scheduling Lessons
To schedule a lesson, follow the steps below.
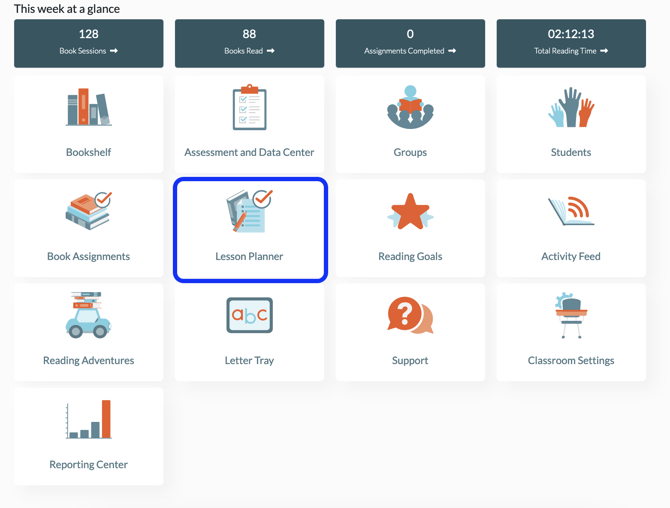
1. From your dashboard, click on Lesson Planner.
2. Click +Schedule Lesson.

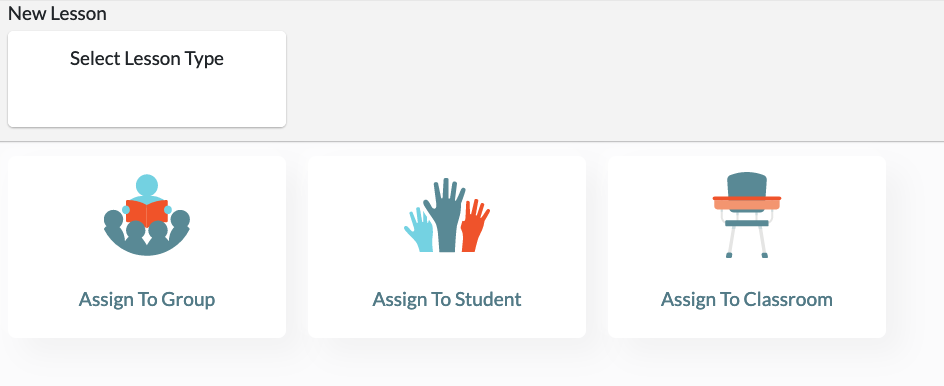
3. Select a lesson type (Assign To Group, Assign To Student, or Assign To Classroom).
4. Select the group or student for the lesson(s) being planned.


5. Filter By Book Set Type by clicking on the drop-down menu to select the book set you would like to choose from.

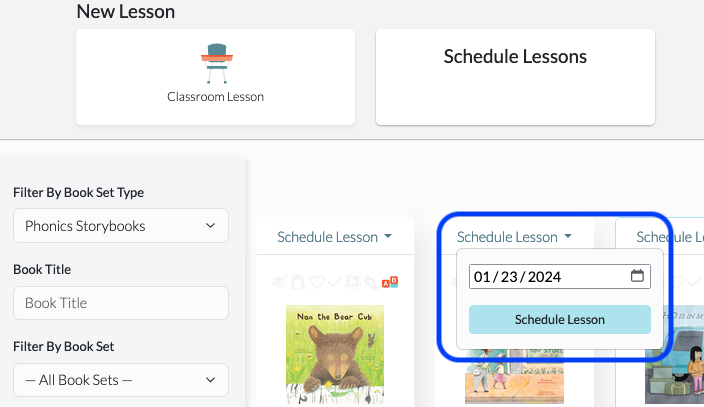
6. Using the Schedule Lesson drop-down menu, select the book(s) and schedule the lesson date.
Changing a Lesson's Scheduled Date
If you need to change the scheduled date of a lesson you have already assigned, follow the steps below.
1. From your dashboard, click on Lesson Planner.

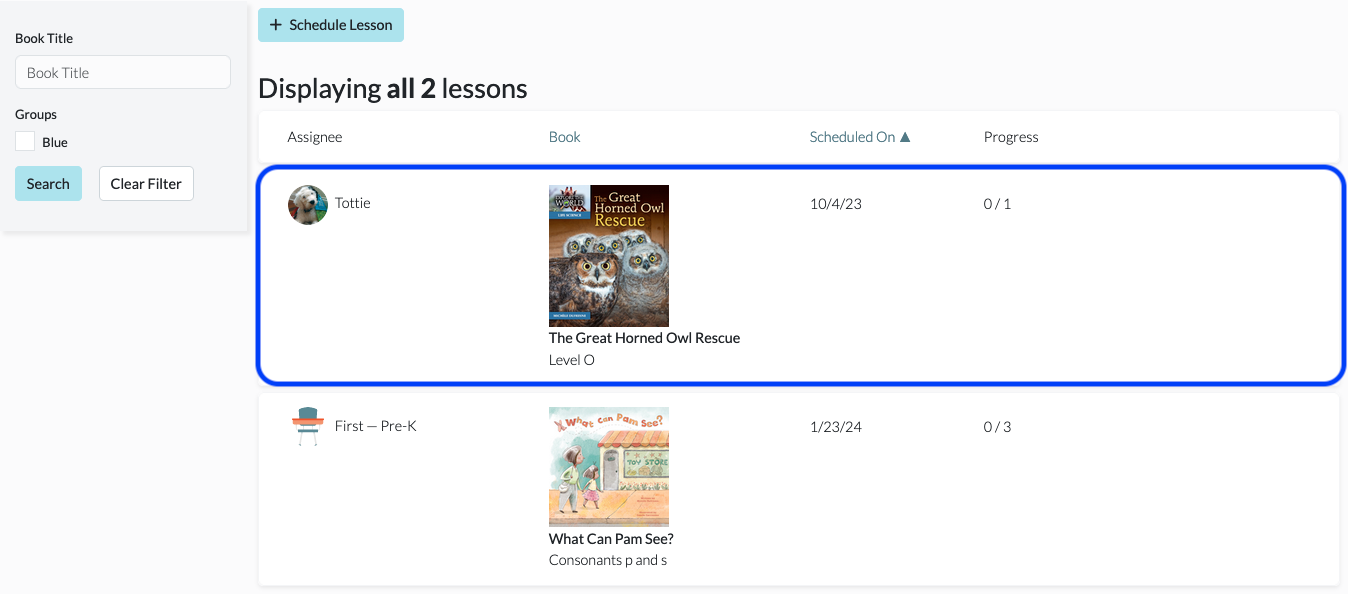
2. Click on the lesson you wish to edit.
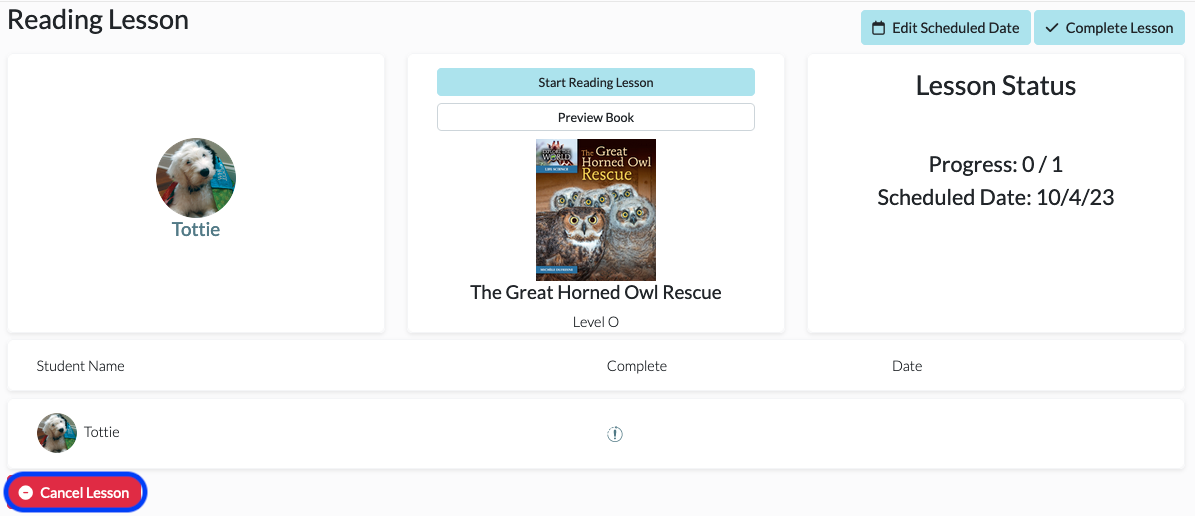
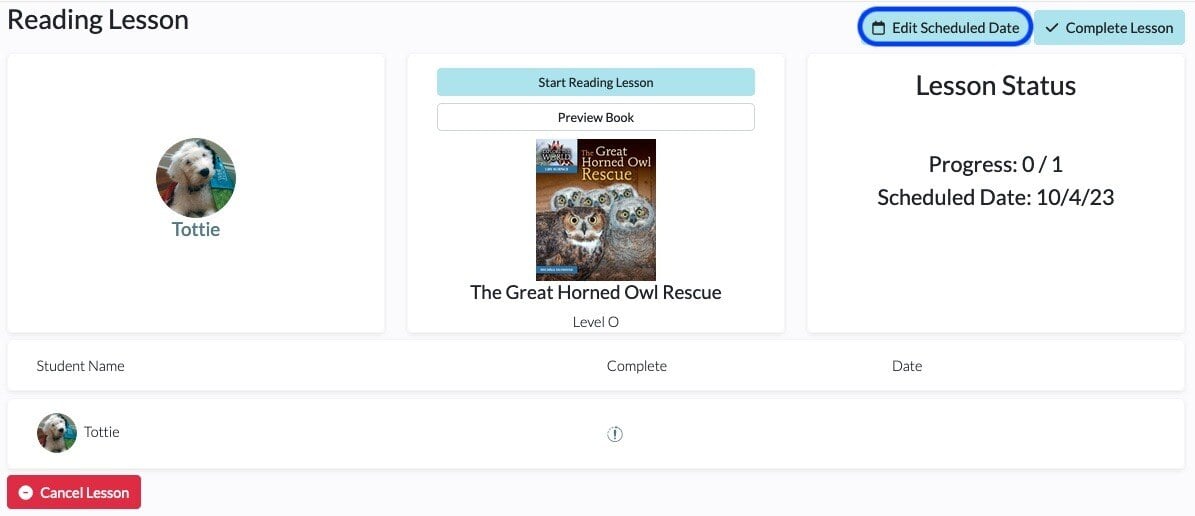
3. Click on the Edit Scheduled Date button.
4. Input the new due date and click Update to save.

Starting and Completing a Lesson
When you are ready to teach a specific lesson and record that it has been completed, follow the steps below. If you are looking to completely delete a lesson, please see Canceling a Lesson.
1. From your dashboard, click on Lesson Planner.

2. Click on the lesson you wish to start.

3. Click on Start Reading Lesson.
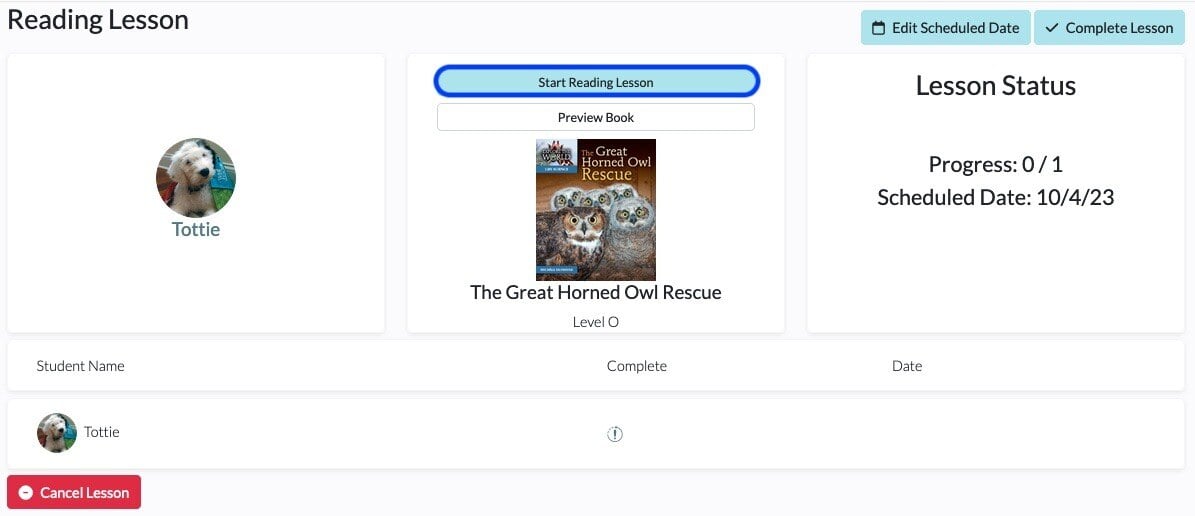
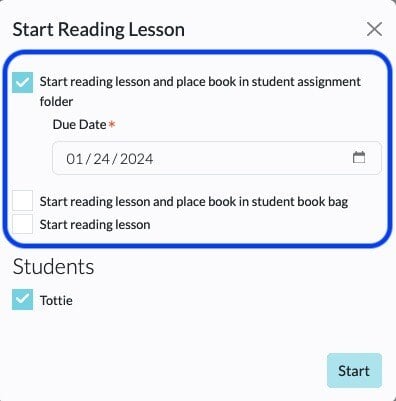
4. Make your choice regarding the release of the book to assignments, Book Bag(s), or not at all.
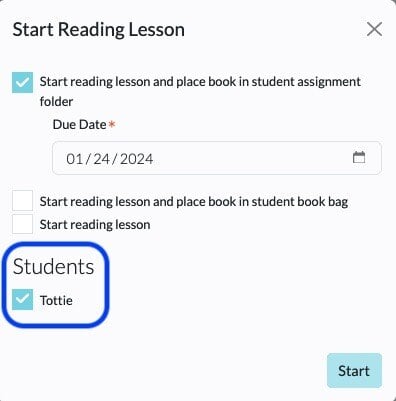
5. Uncheck students as necessary.
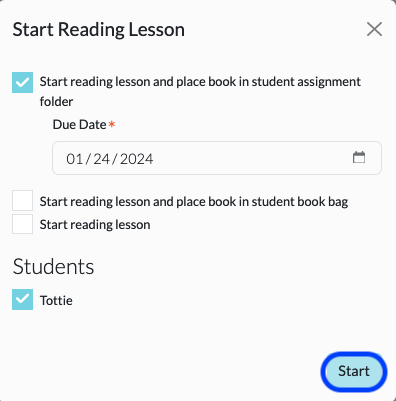
6. Click Start.
7. The book will appear on your screen, and you may continue with your lesson.

8. At the end of the book, when you click on Mark Read, it will show up as complete and Read for all students who were checked off and present in the session.

9. When all students have completed the lesson with you, click on Back to Bookshelf, which will bring you back to the lesson plan.

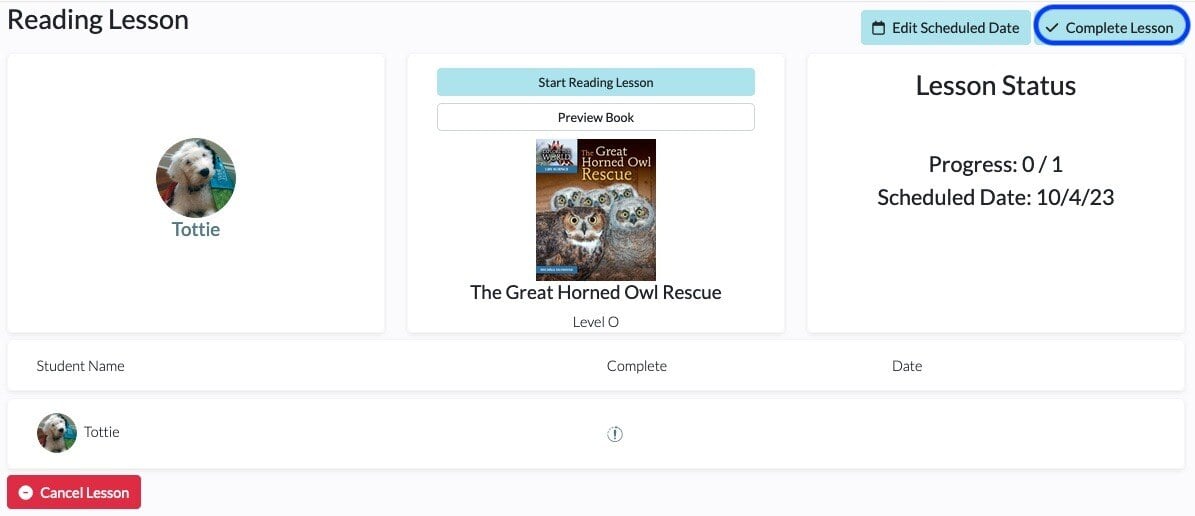
10. Click on Complete Lesson to clear it from your list of upcoming or active lessons.
Canceling a Lesson
As a teacher, you have the flexibility of deleting or canceling a lesson once it’s been posted. To do so, follow the steps below. *Please note, this is different from marking a lesson as complete.
1. From your dashboard, click on Lesson Planner.

2. Click on the lesson you wish to cancel.

3. Click on the red Cancel Lesson button on the lower left to cancel the lesson and remove it from your lesson summary.
