How Does an Admin Upload a Roster of Students?
As an admin, you can upload a district or school roster by following the below steps.
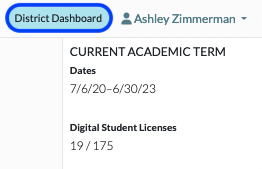
1. Log in to your Digital Reader account, and click in to your District/School Dashboard (the blue bar at the top right of your page). If you do not see a blue bar, then you are not an admin; please contact your school or district admin. For help on where to find your account admin(s), see Where Can I Find the Admins on My Account?

2. Click Students.

3. Click the Import Students button at the top of your screen.

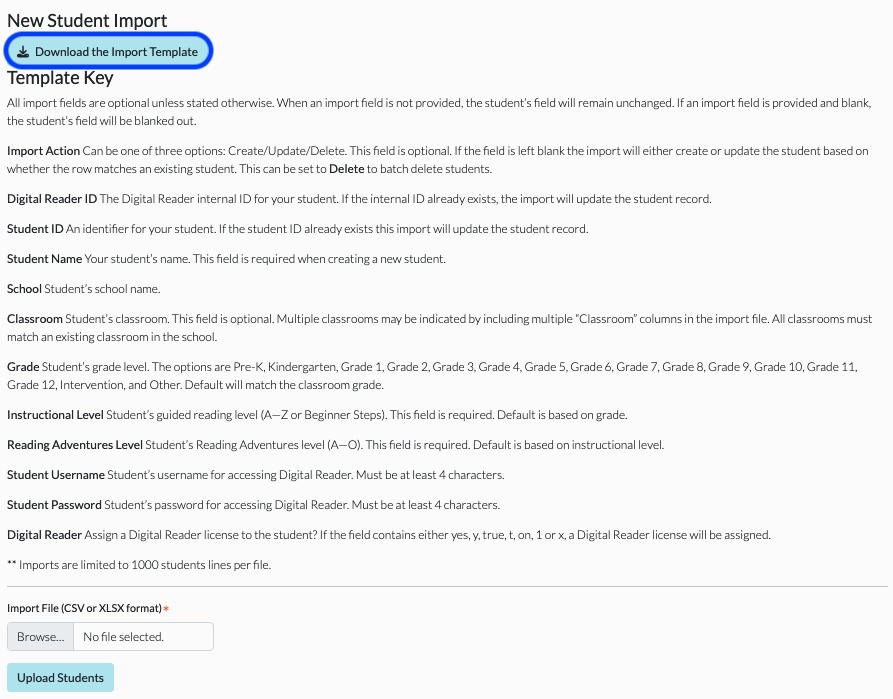
4. Click New Student Import.

5. Click Download the Import Template button to download the template.

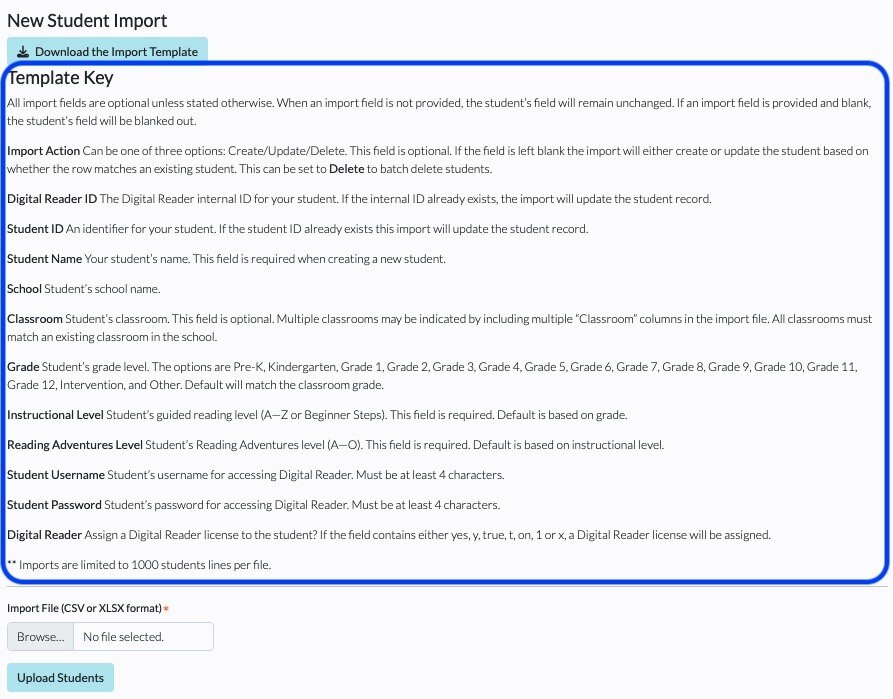
6. Following the instructions posted in the Template Key, complete the fields in the template. Do not change any of the headers, and be careful to include all required information. Please ensure you are using group and classroom names that match what you have included in the Digital Reader platform. For example, if a classroom is Smith-1 in the Digital Reader, but you enter it as 1-Smith on the roster template, you will get an error message.

7. Save the template to your desktop with an identifier you can recognize.

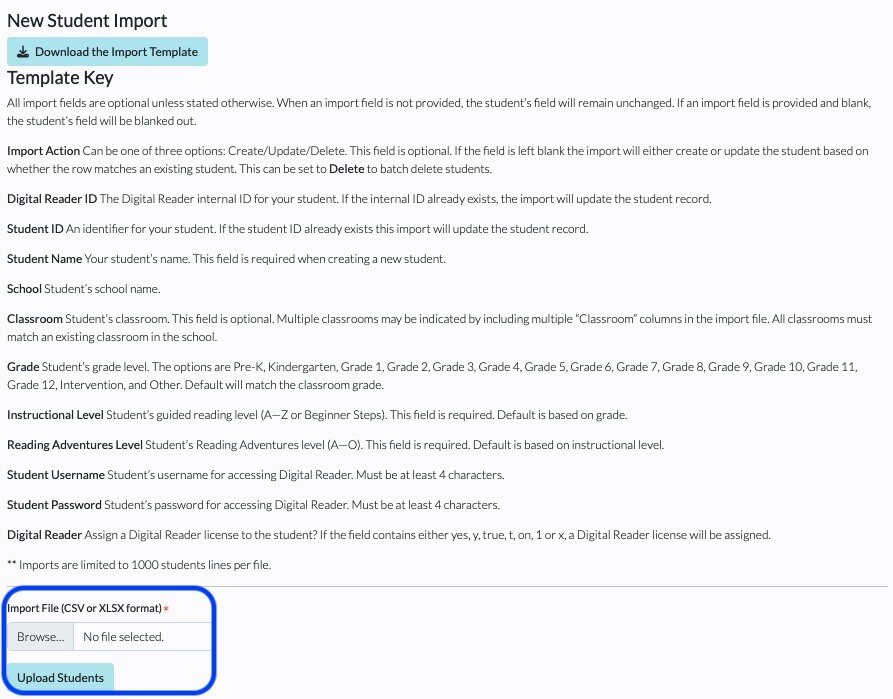
8. Once you’re ready, click Browse (under Import File) to choose the file and find the template you have saved. Then click Upload Students.

9. Review the roster on your screen and, if it’s correct, click Import. If you need to edit a particular student, click on the Pencil icon to the far right of their name to make corrections prior to importing. Your student(s) is now part of your roster.

